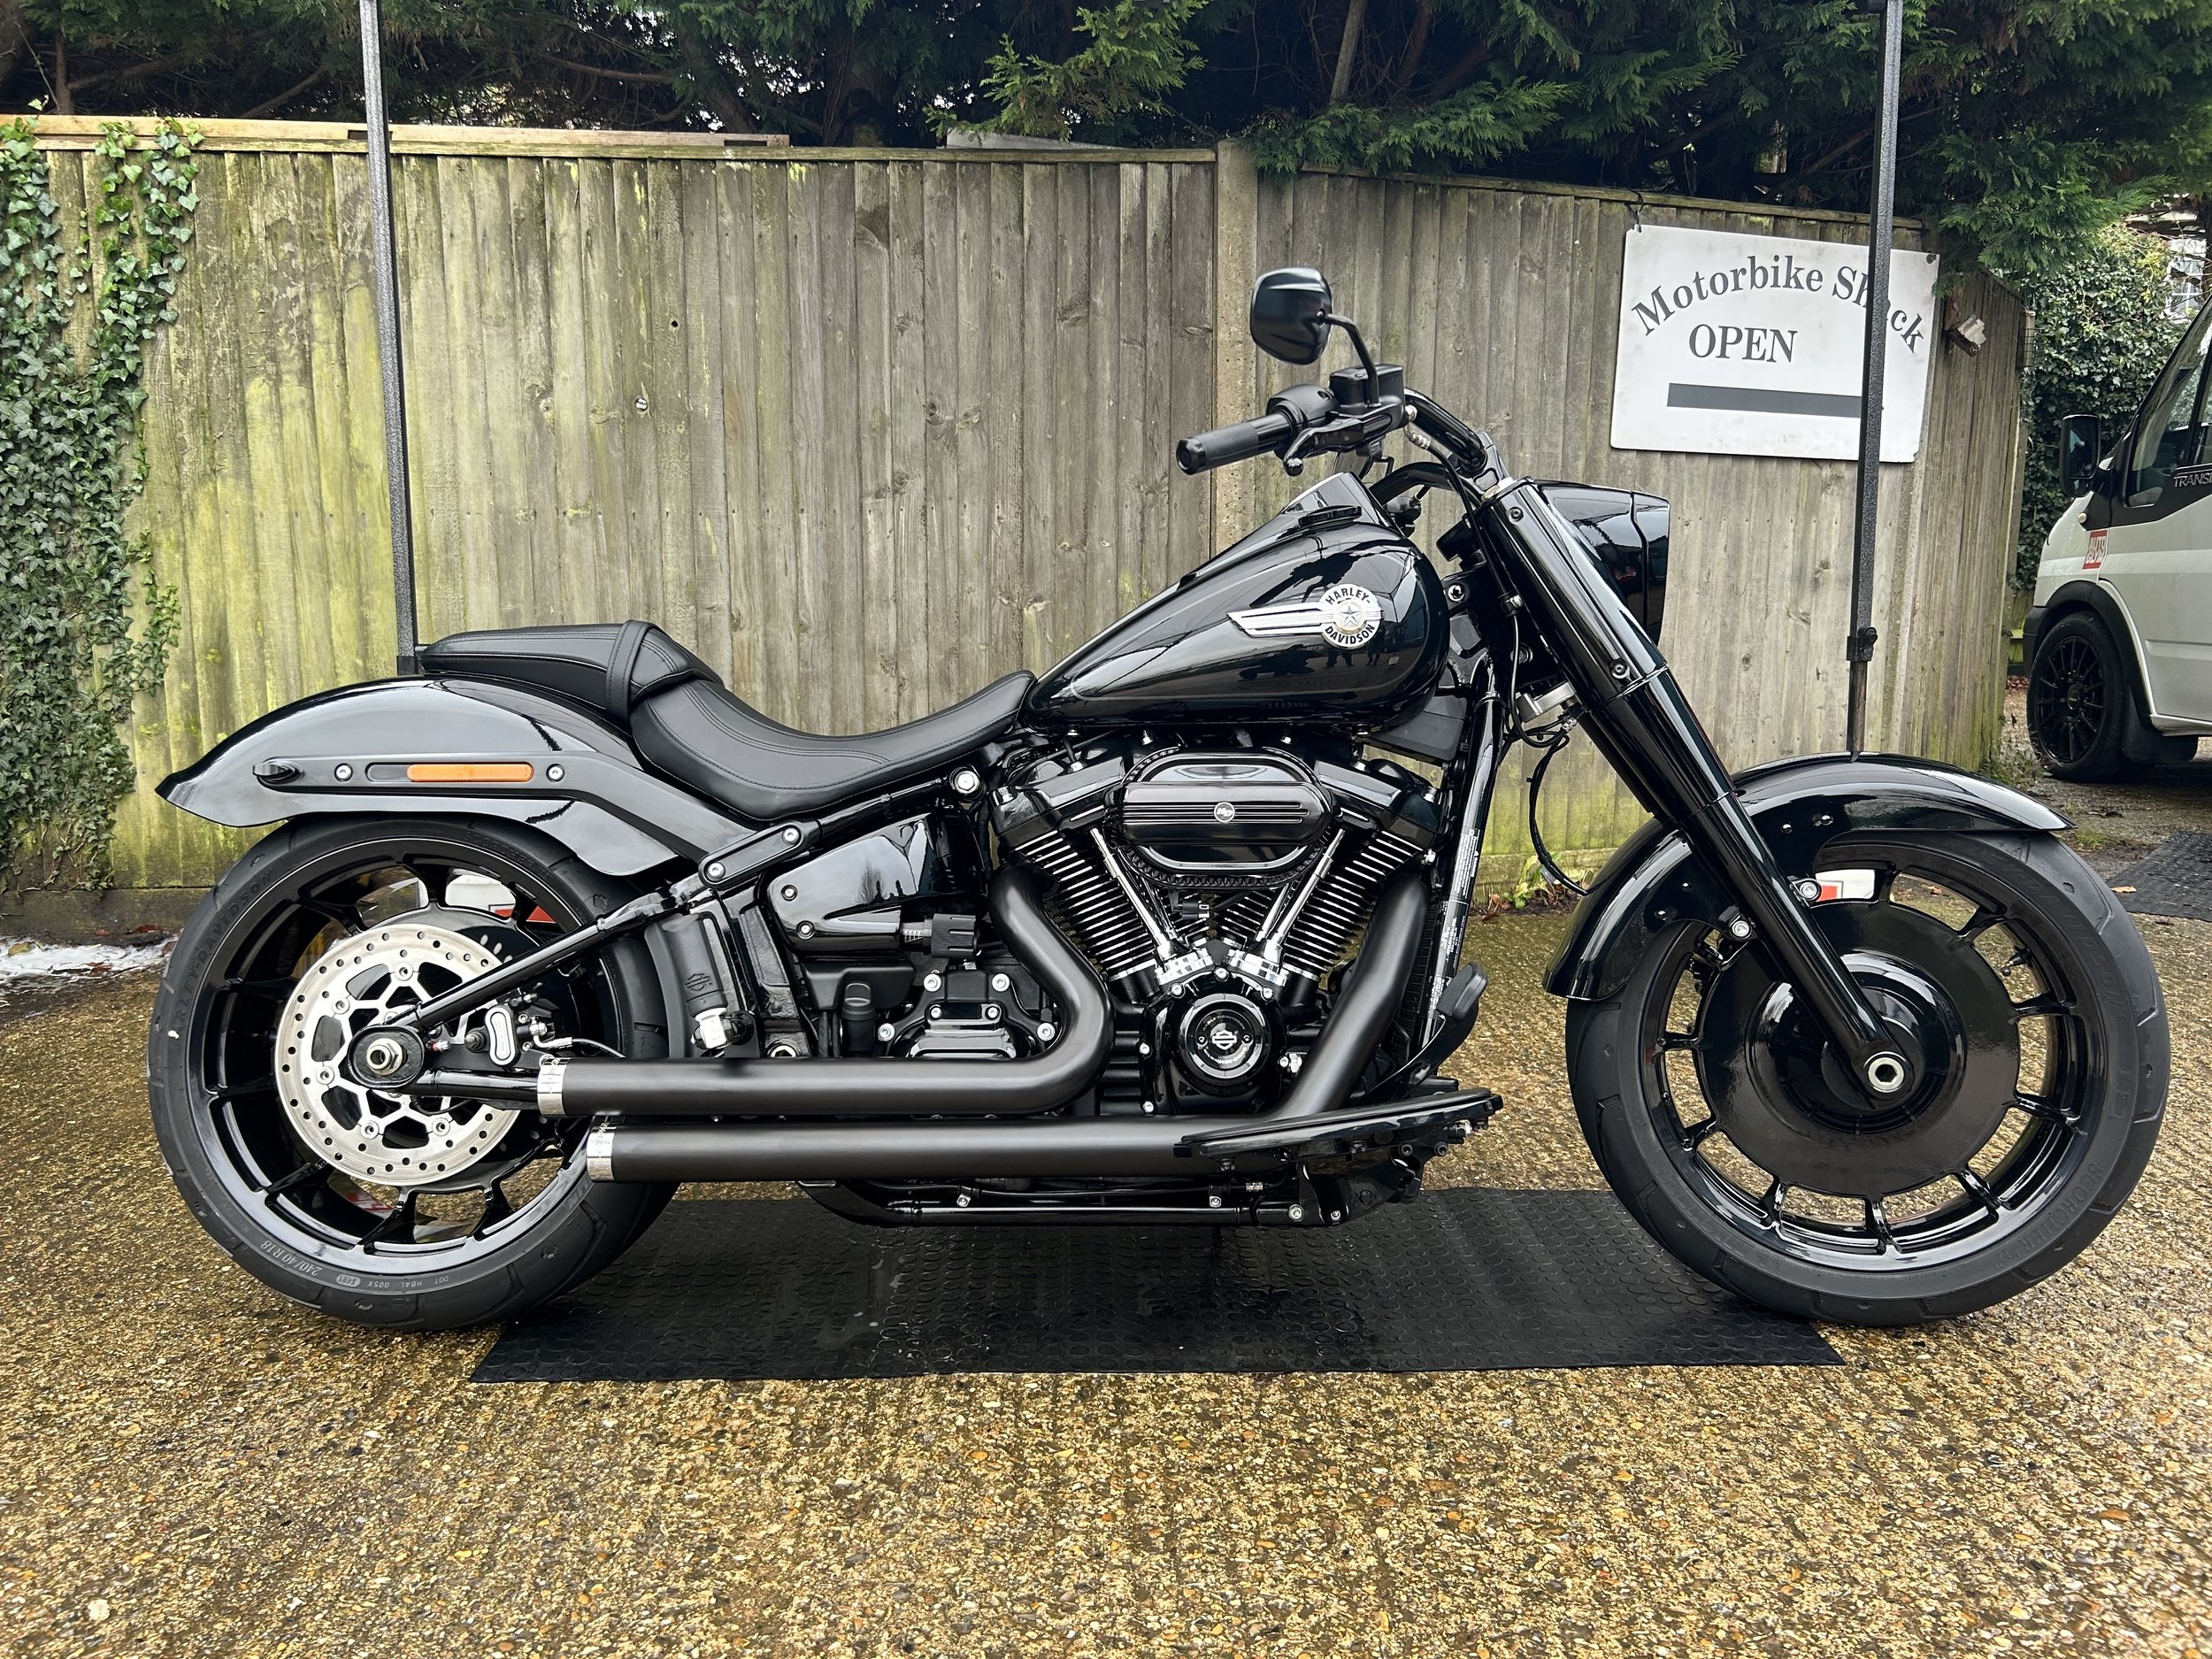
Harley Davidson Fat Boy 114 2022
Part One - Cosmetic
Our client brought us their stage 1 H-D Fat boy, accompanied by a long list of works they wanted completing over the winter months. The job was split into two parts, the first stage included paint/powder coat work, Replacing parts for black alternatives, fitting handlebars, risers, front and rear indicators and fitting exhausts. The second stage involved a stage 2 performance upgrade with cam and mapping to suit (This was to be done at a later date).
Once the client had briefed us on what they wanted, we got to work removing all parts in need of paint/powder coat. This included the top yoke, headlight ring, belt guard, air cleaner, foot controls, rear pully, primary cover, rocker covers, transmission cover, cam cover, footboards and both wheels.
All chromed parts were sent to Microblast Services in Windsor to remove the chrome and etch the metal ready for powder coating. They were then sent to Wheelworkz for powder coat along with the wheels. They have done a great job with no orange peel to be seen! The headlight ring and belt guard were taken to Crowden Coach Works in Wooburn green for paint, also doing a great job.
We then began fitting parts that the customer had supplied us with. The fender struts were first, replacing the original silver struts with black ones. Allowing for the Heinz Bikes nano 3-in-1 rear indicators to be wired in, which are insanely bright for such a small unit.


It was then time to move onto the front end. With front suspension partially dismantled for powder coat, the forks were removed from the bike and we replaced the brushed aluminium lowers for new black ones.
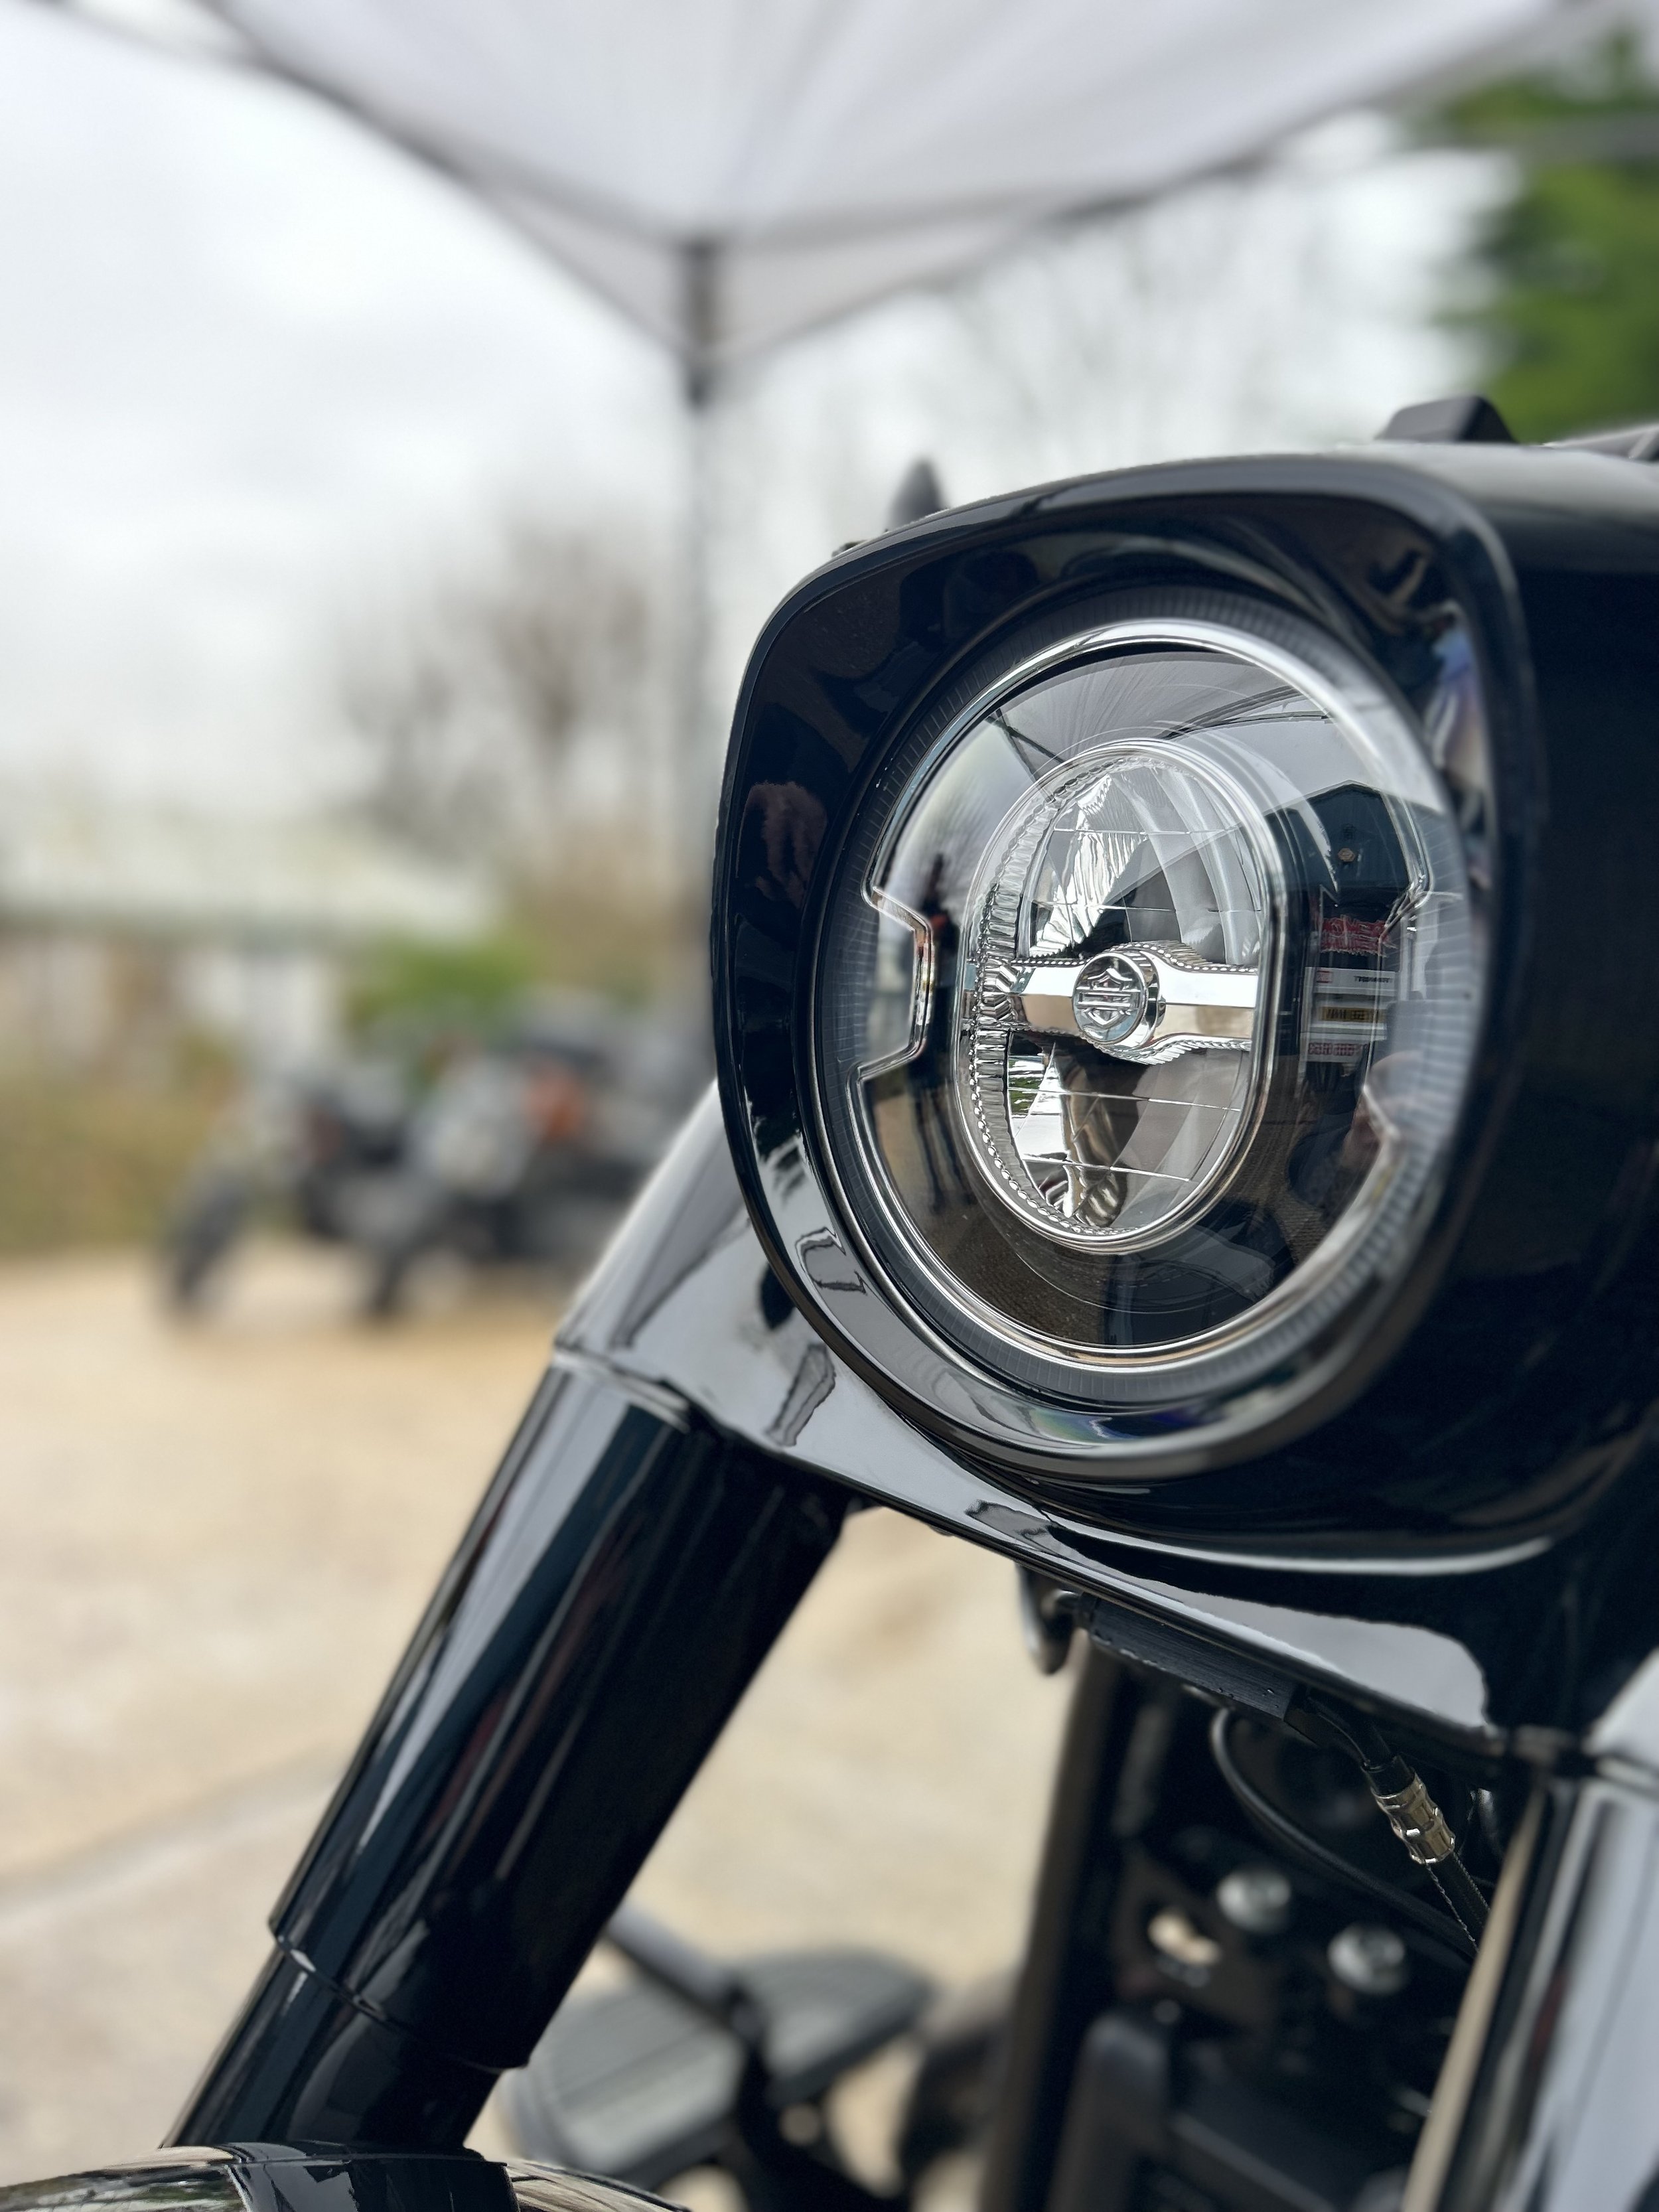
Once the paint and powder coat work was returned, it was time to reassemble the bike. The top and bottom yokes were reassembled and the forks were slipped into place, the fork shrouds and the headlight nacelle were replaced with new black alternatives. The wheels were fitted with tyres, discs and also the rear pully. Once the wheels were in the belt guard was fitted finishing the rear end.

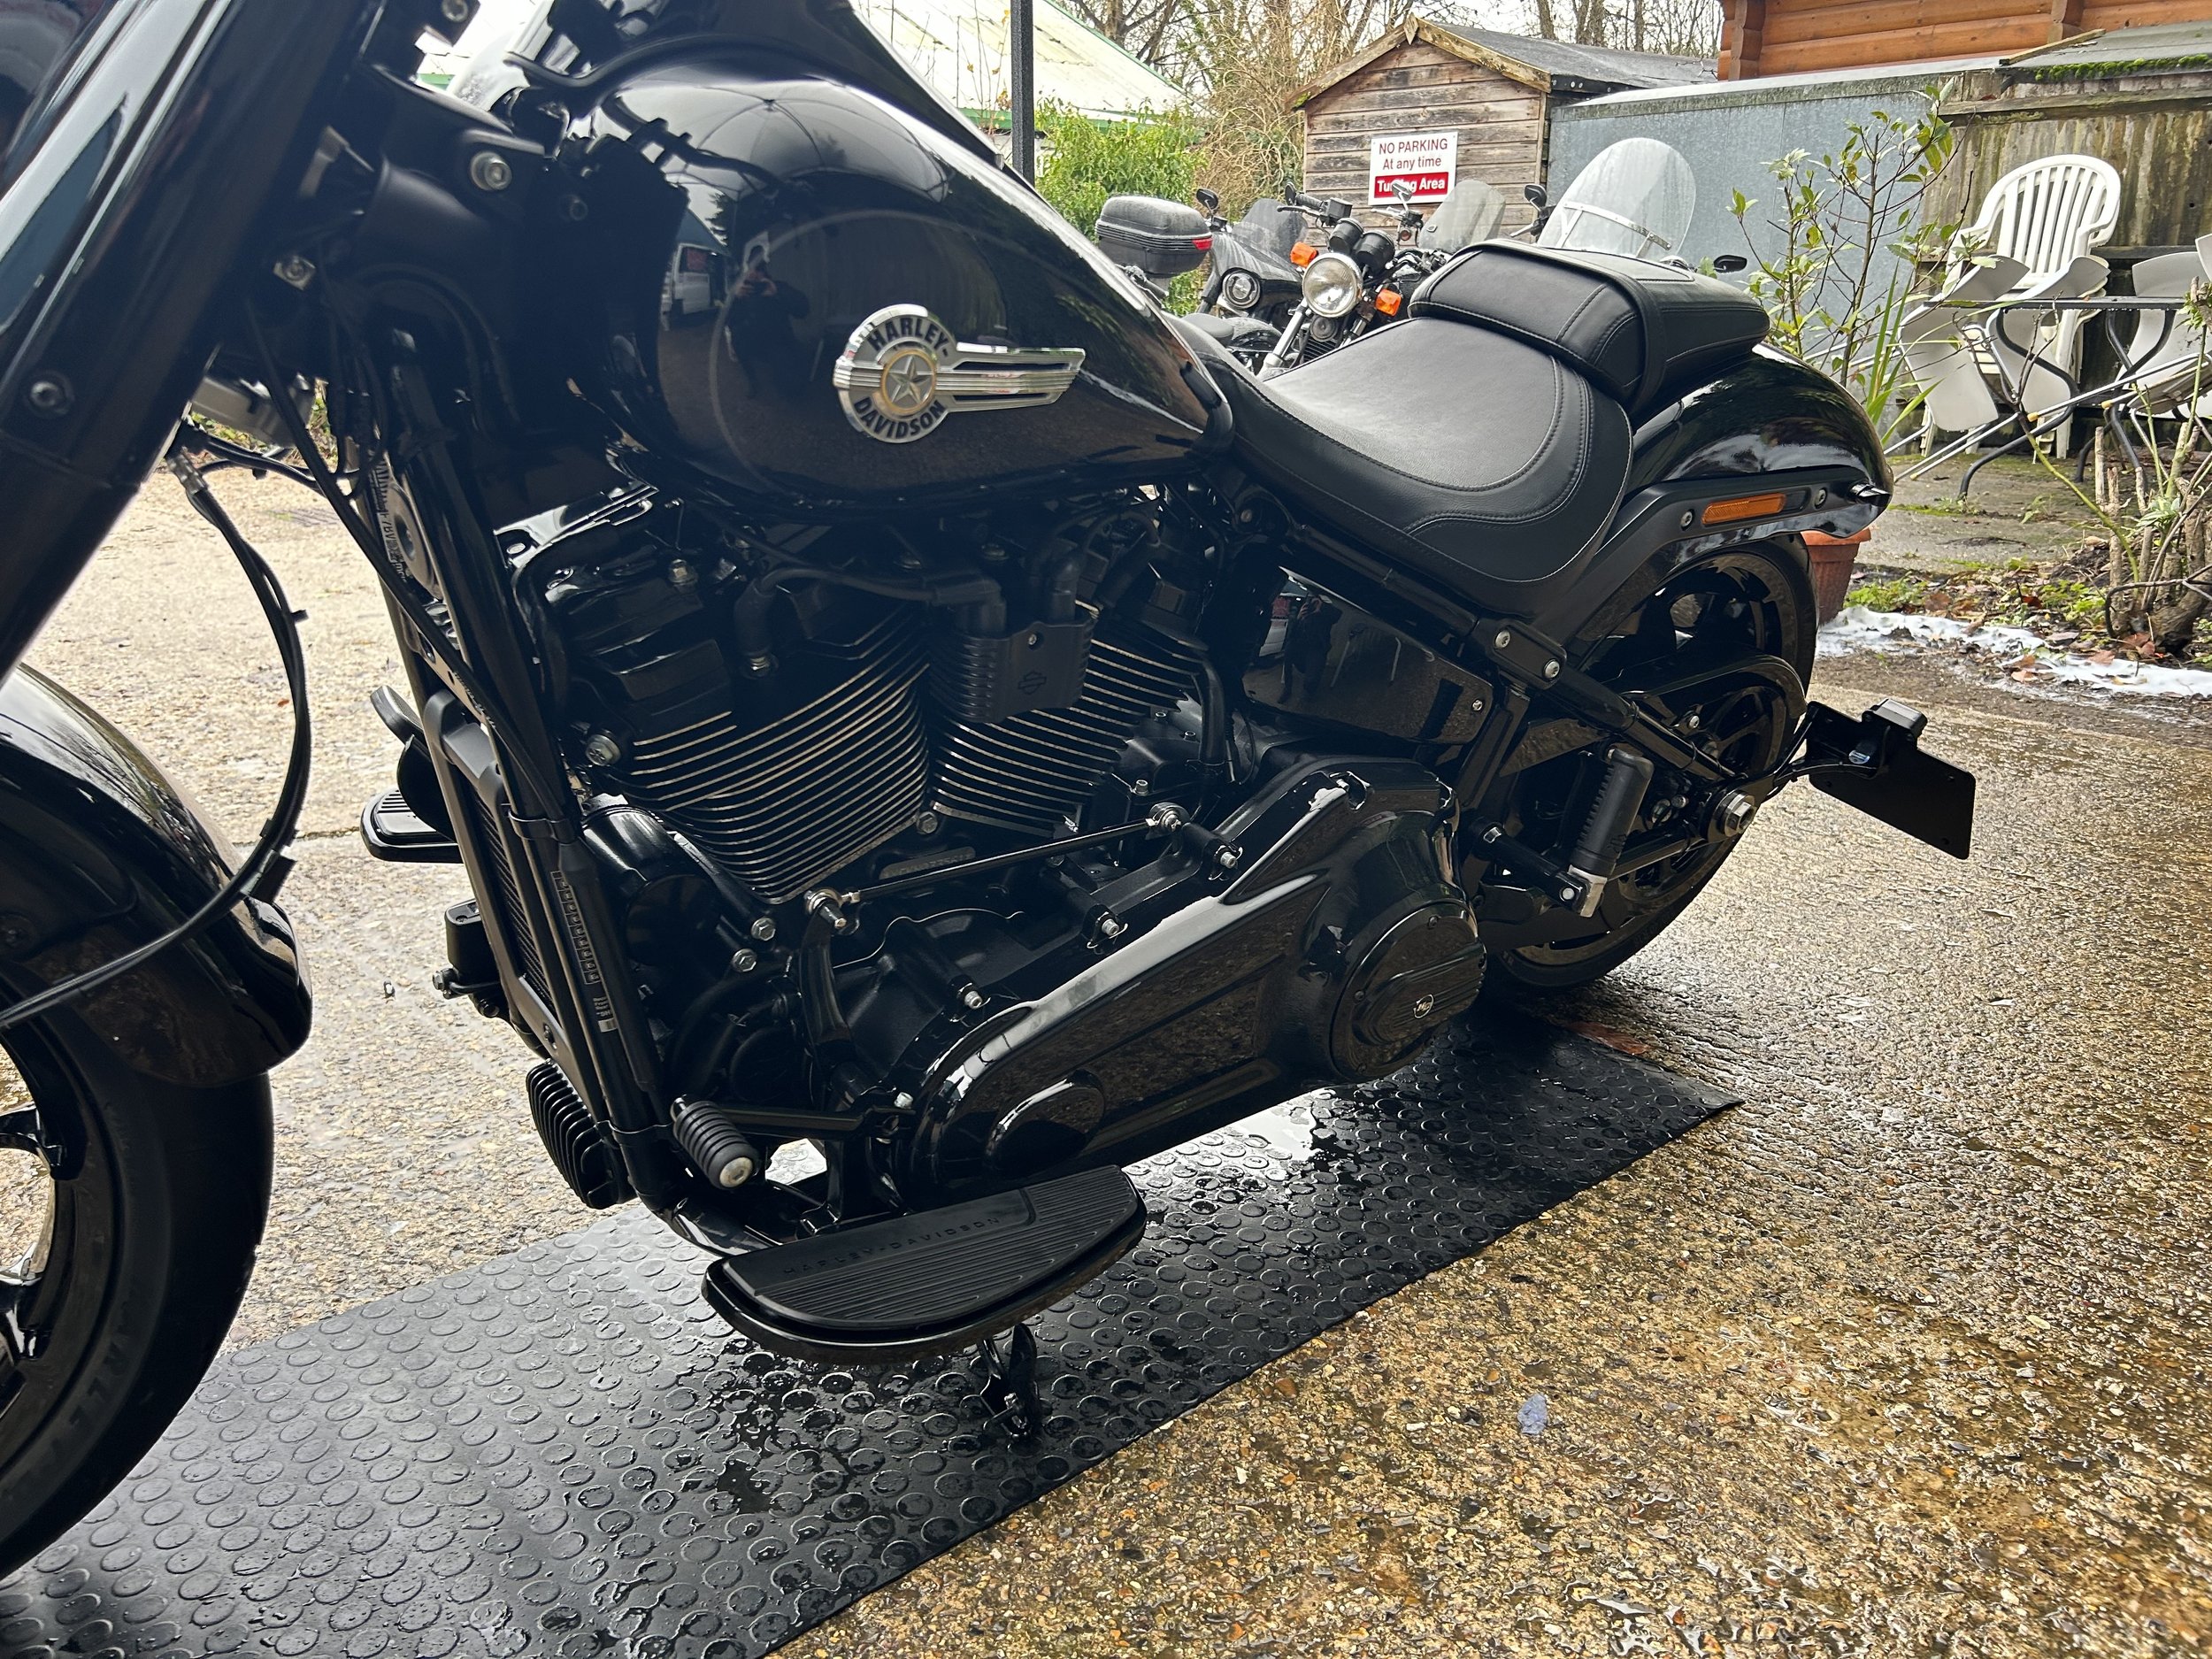
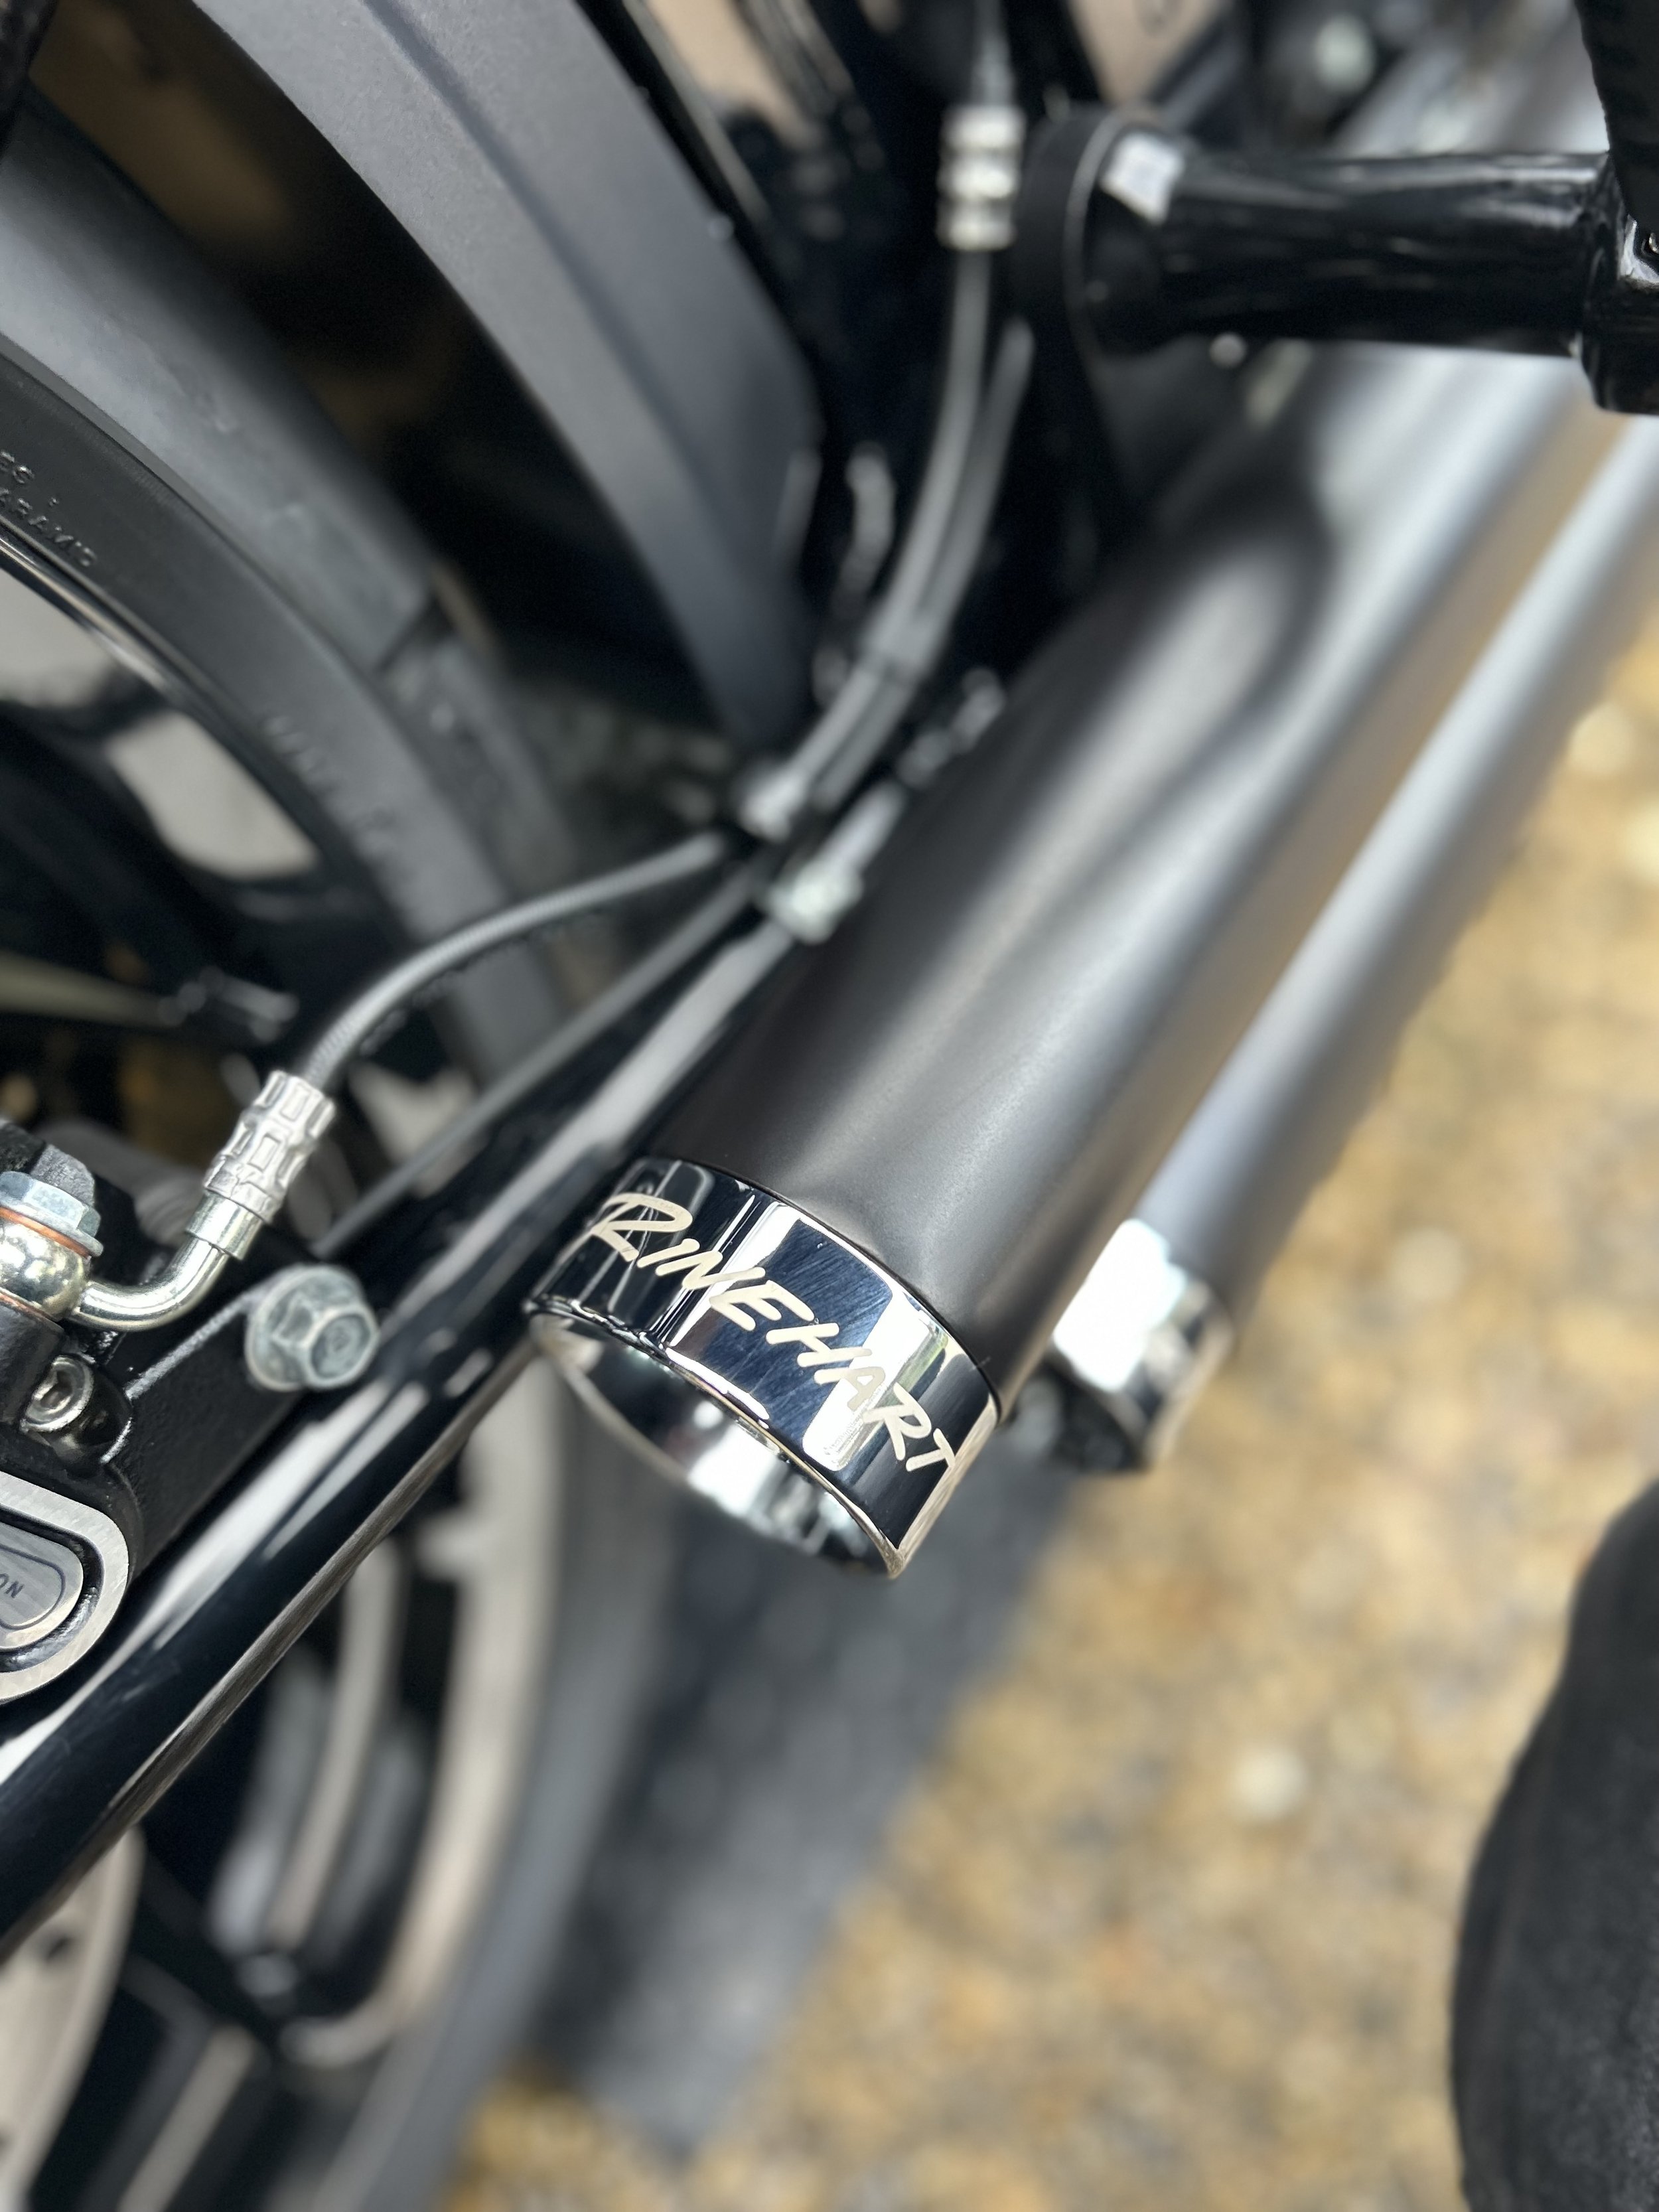
Then for the tricky bit, fitting the engine covers. We fitted the rocker covers first, we could them mount the fuel tank with new instrument cluster. The air cleaner was next along with the cam cover, transmission cover and primary cover. With the engine covers fitted the foot controls were bolted on and the new Rinehart 2-2 exhaust system, which has a great deep burble to it. Last on the list were the handlebars.


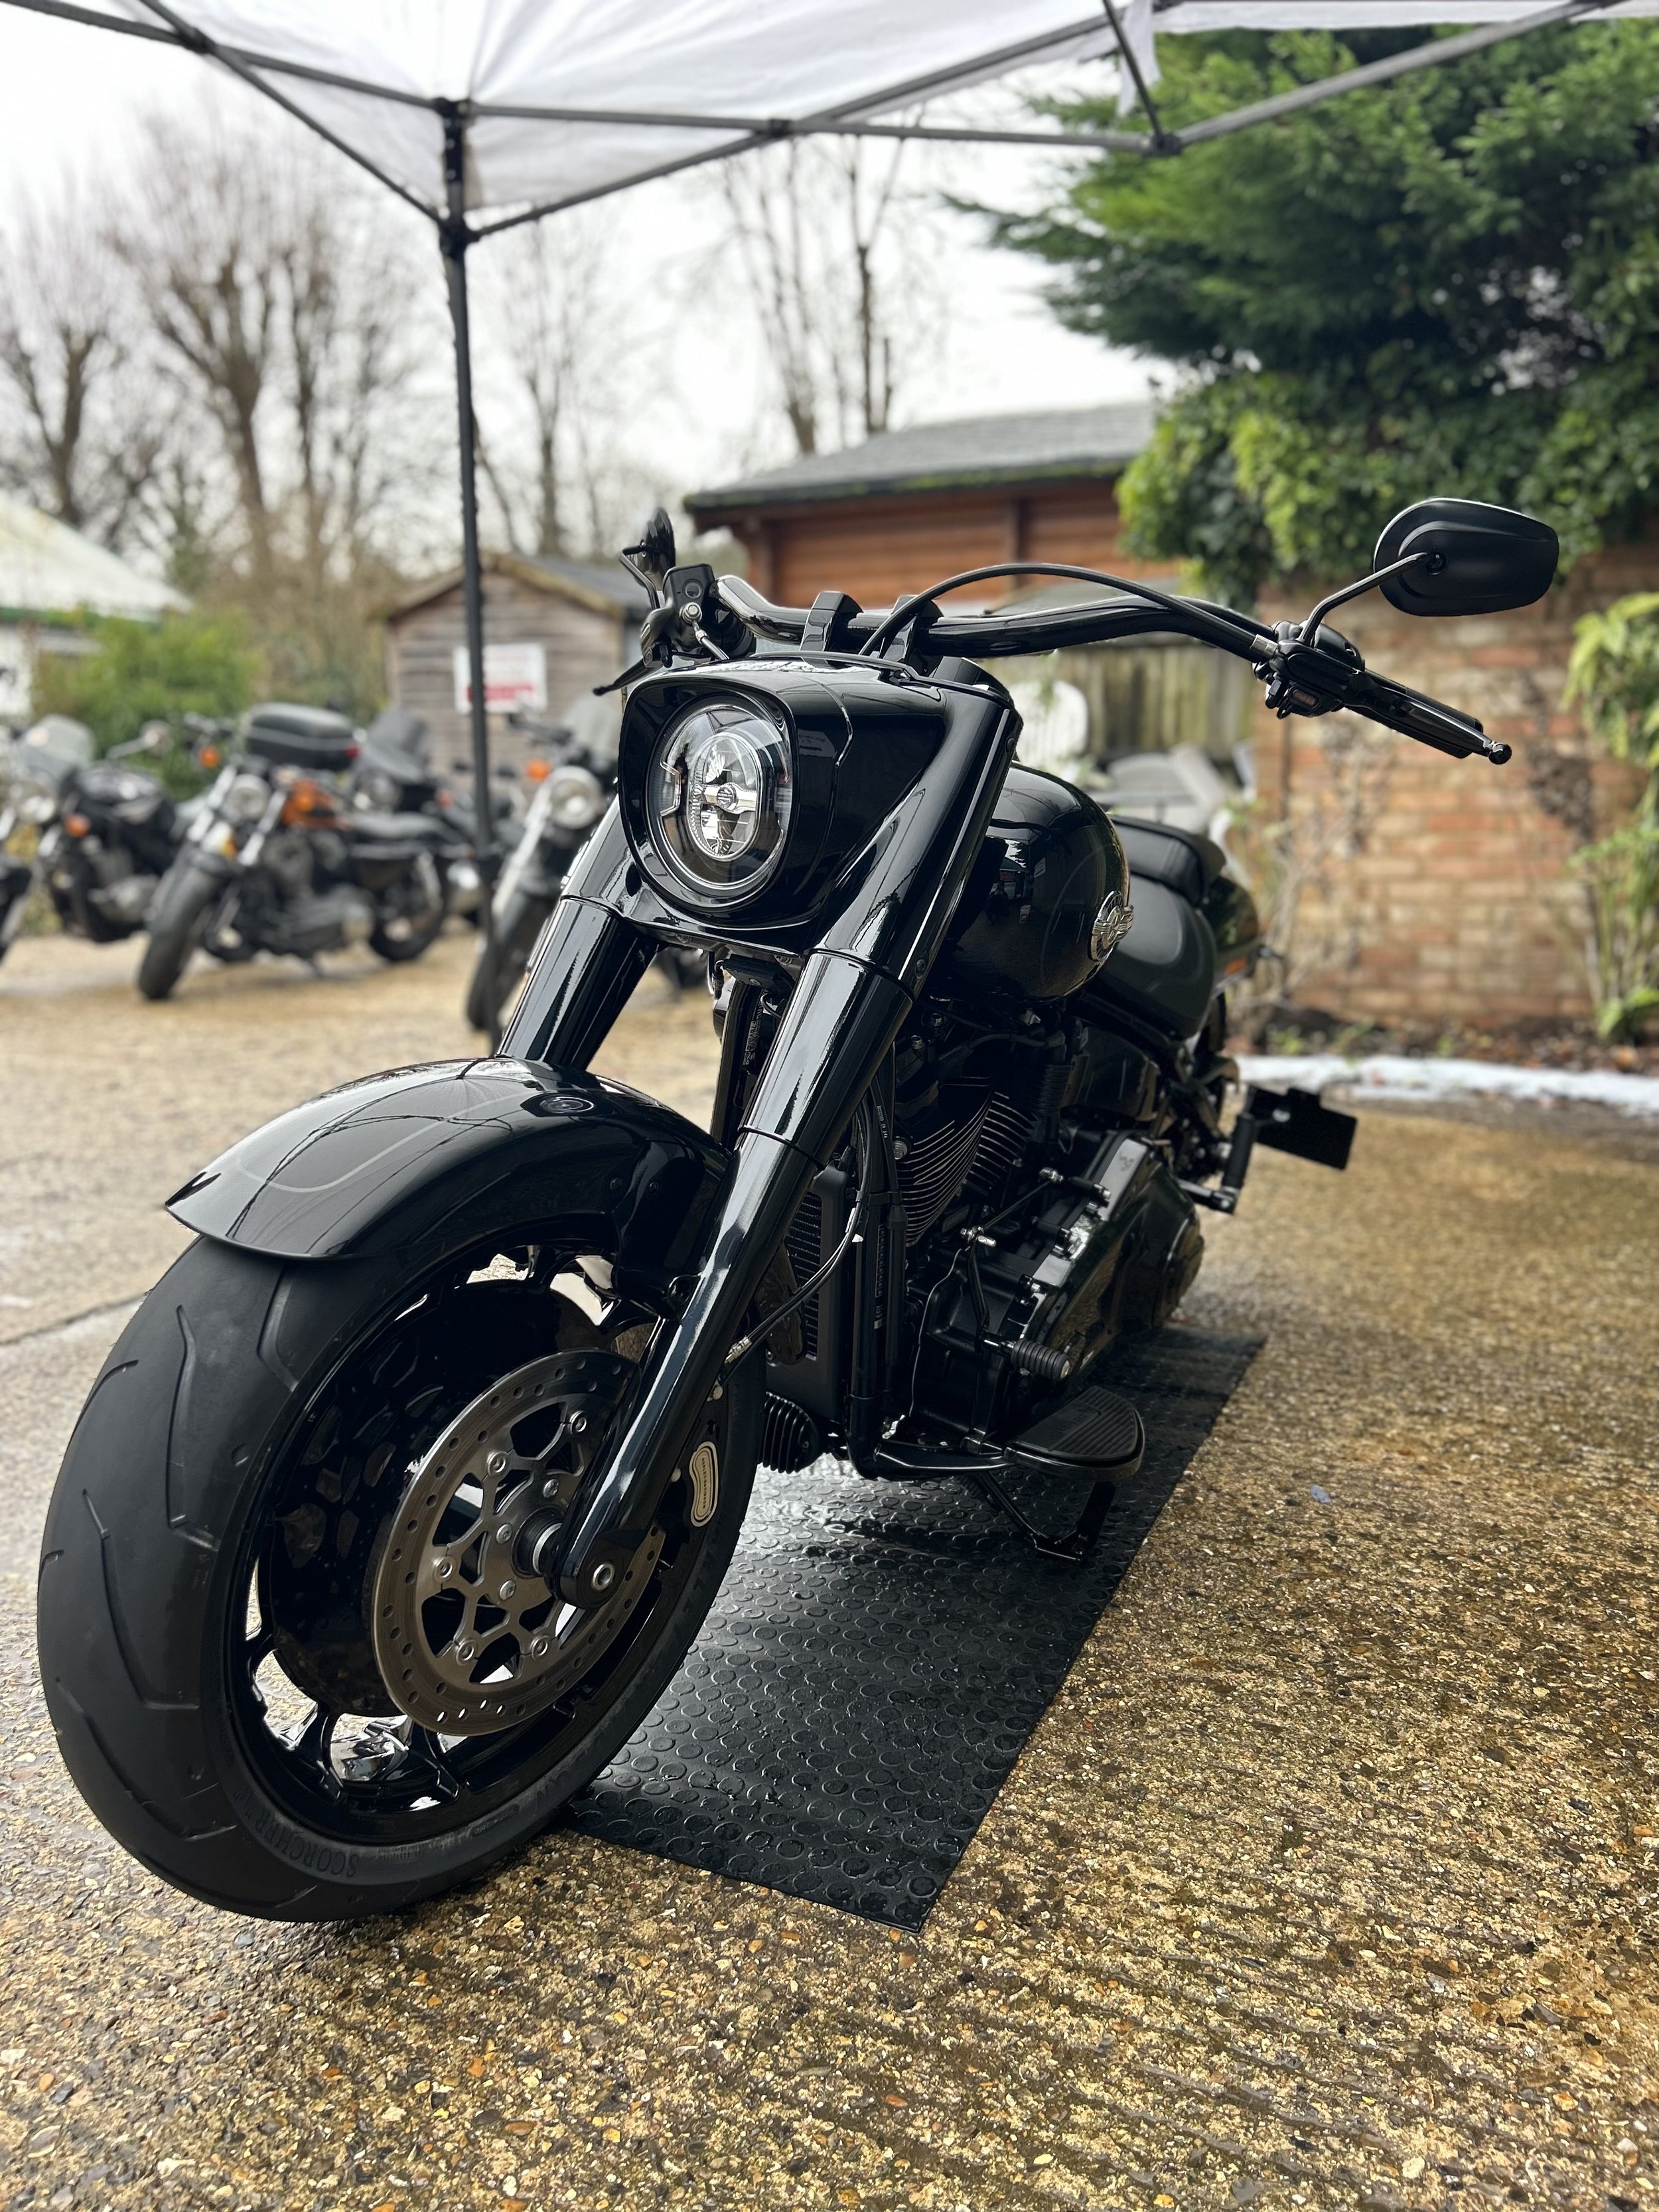
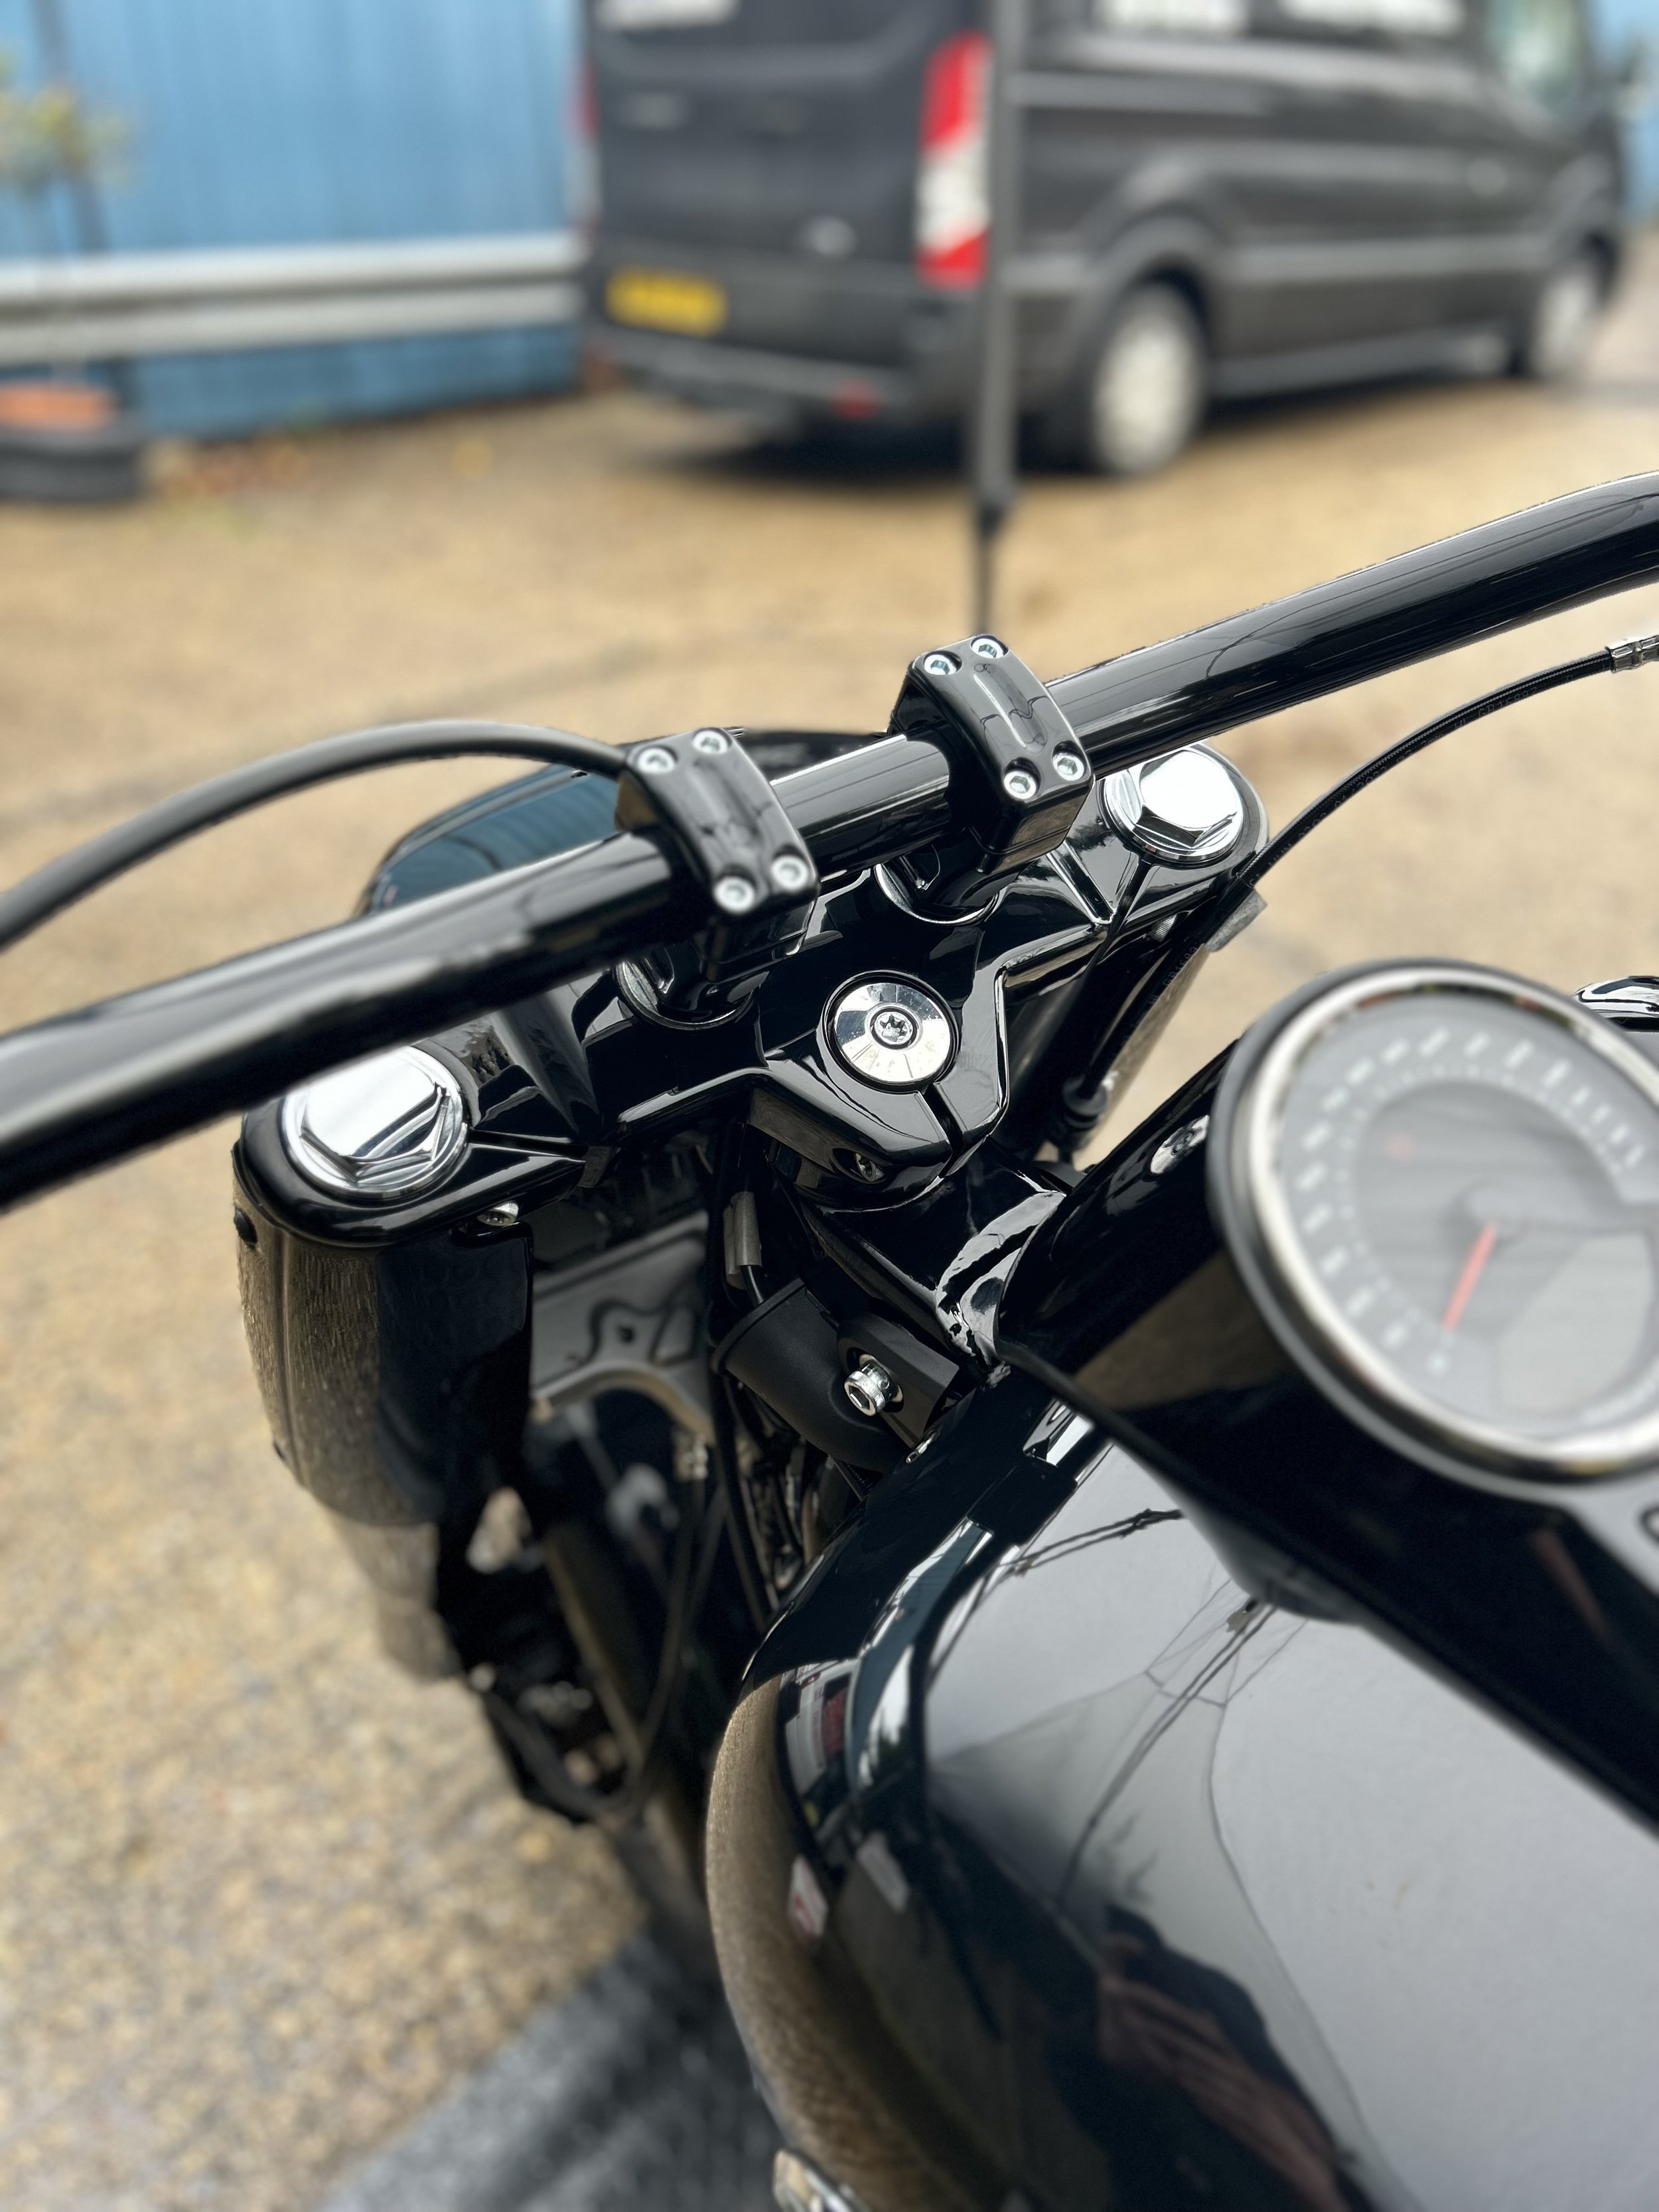
Before fitting the new Thunder Bike Hollywood handlebars to the bike, we took the opportunity to internally wire them on the work bench. Using the original switch gears, the new Motorcycle Storehouse Fastline front indicators we wired in.
The handlebars were then mounted to the freshly powder coated top yoke with the new Thunder Bike 2” straight risers. This parts duo is a great combination if you are looking for a sleek handlebar set-up.
The Thunder bike handlebars have numerous holes on the underside which line-up with the risers. The risers have hollow mounting bolts which allows for the switch gear wires to feed through and into the back of the nacelle without being seen, giving the bike a really clean, minimalistic look.
Once these final works were completed the bike was delivered back to the customer in time for Christmas.
Part one Finished.


BEFORE

AFTER

Part Two - Performance
“IT’S NOT HOW FAST YOU GO… BUT HOW QUICK YOU GET THERE!”
Time for some performance upgrades. Our client did a lot of their own research into cams and the options available on the market. After some deliberation they ended up going with a Wood Performance Knight Prowler WM8-22XE manufactured by Andrews Products.
The WM8-22XE cam is a high output bolt in cam, meaning it produces both maximum torque and horsepower for the stock heads and valve springs. It is also described as being great for 2-up riding, mountain passes and WHEELIES! Now this got us excited.
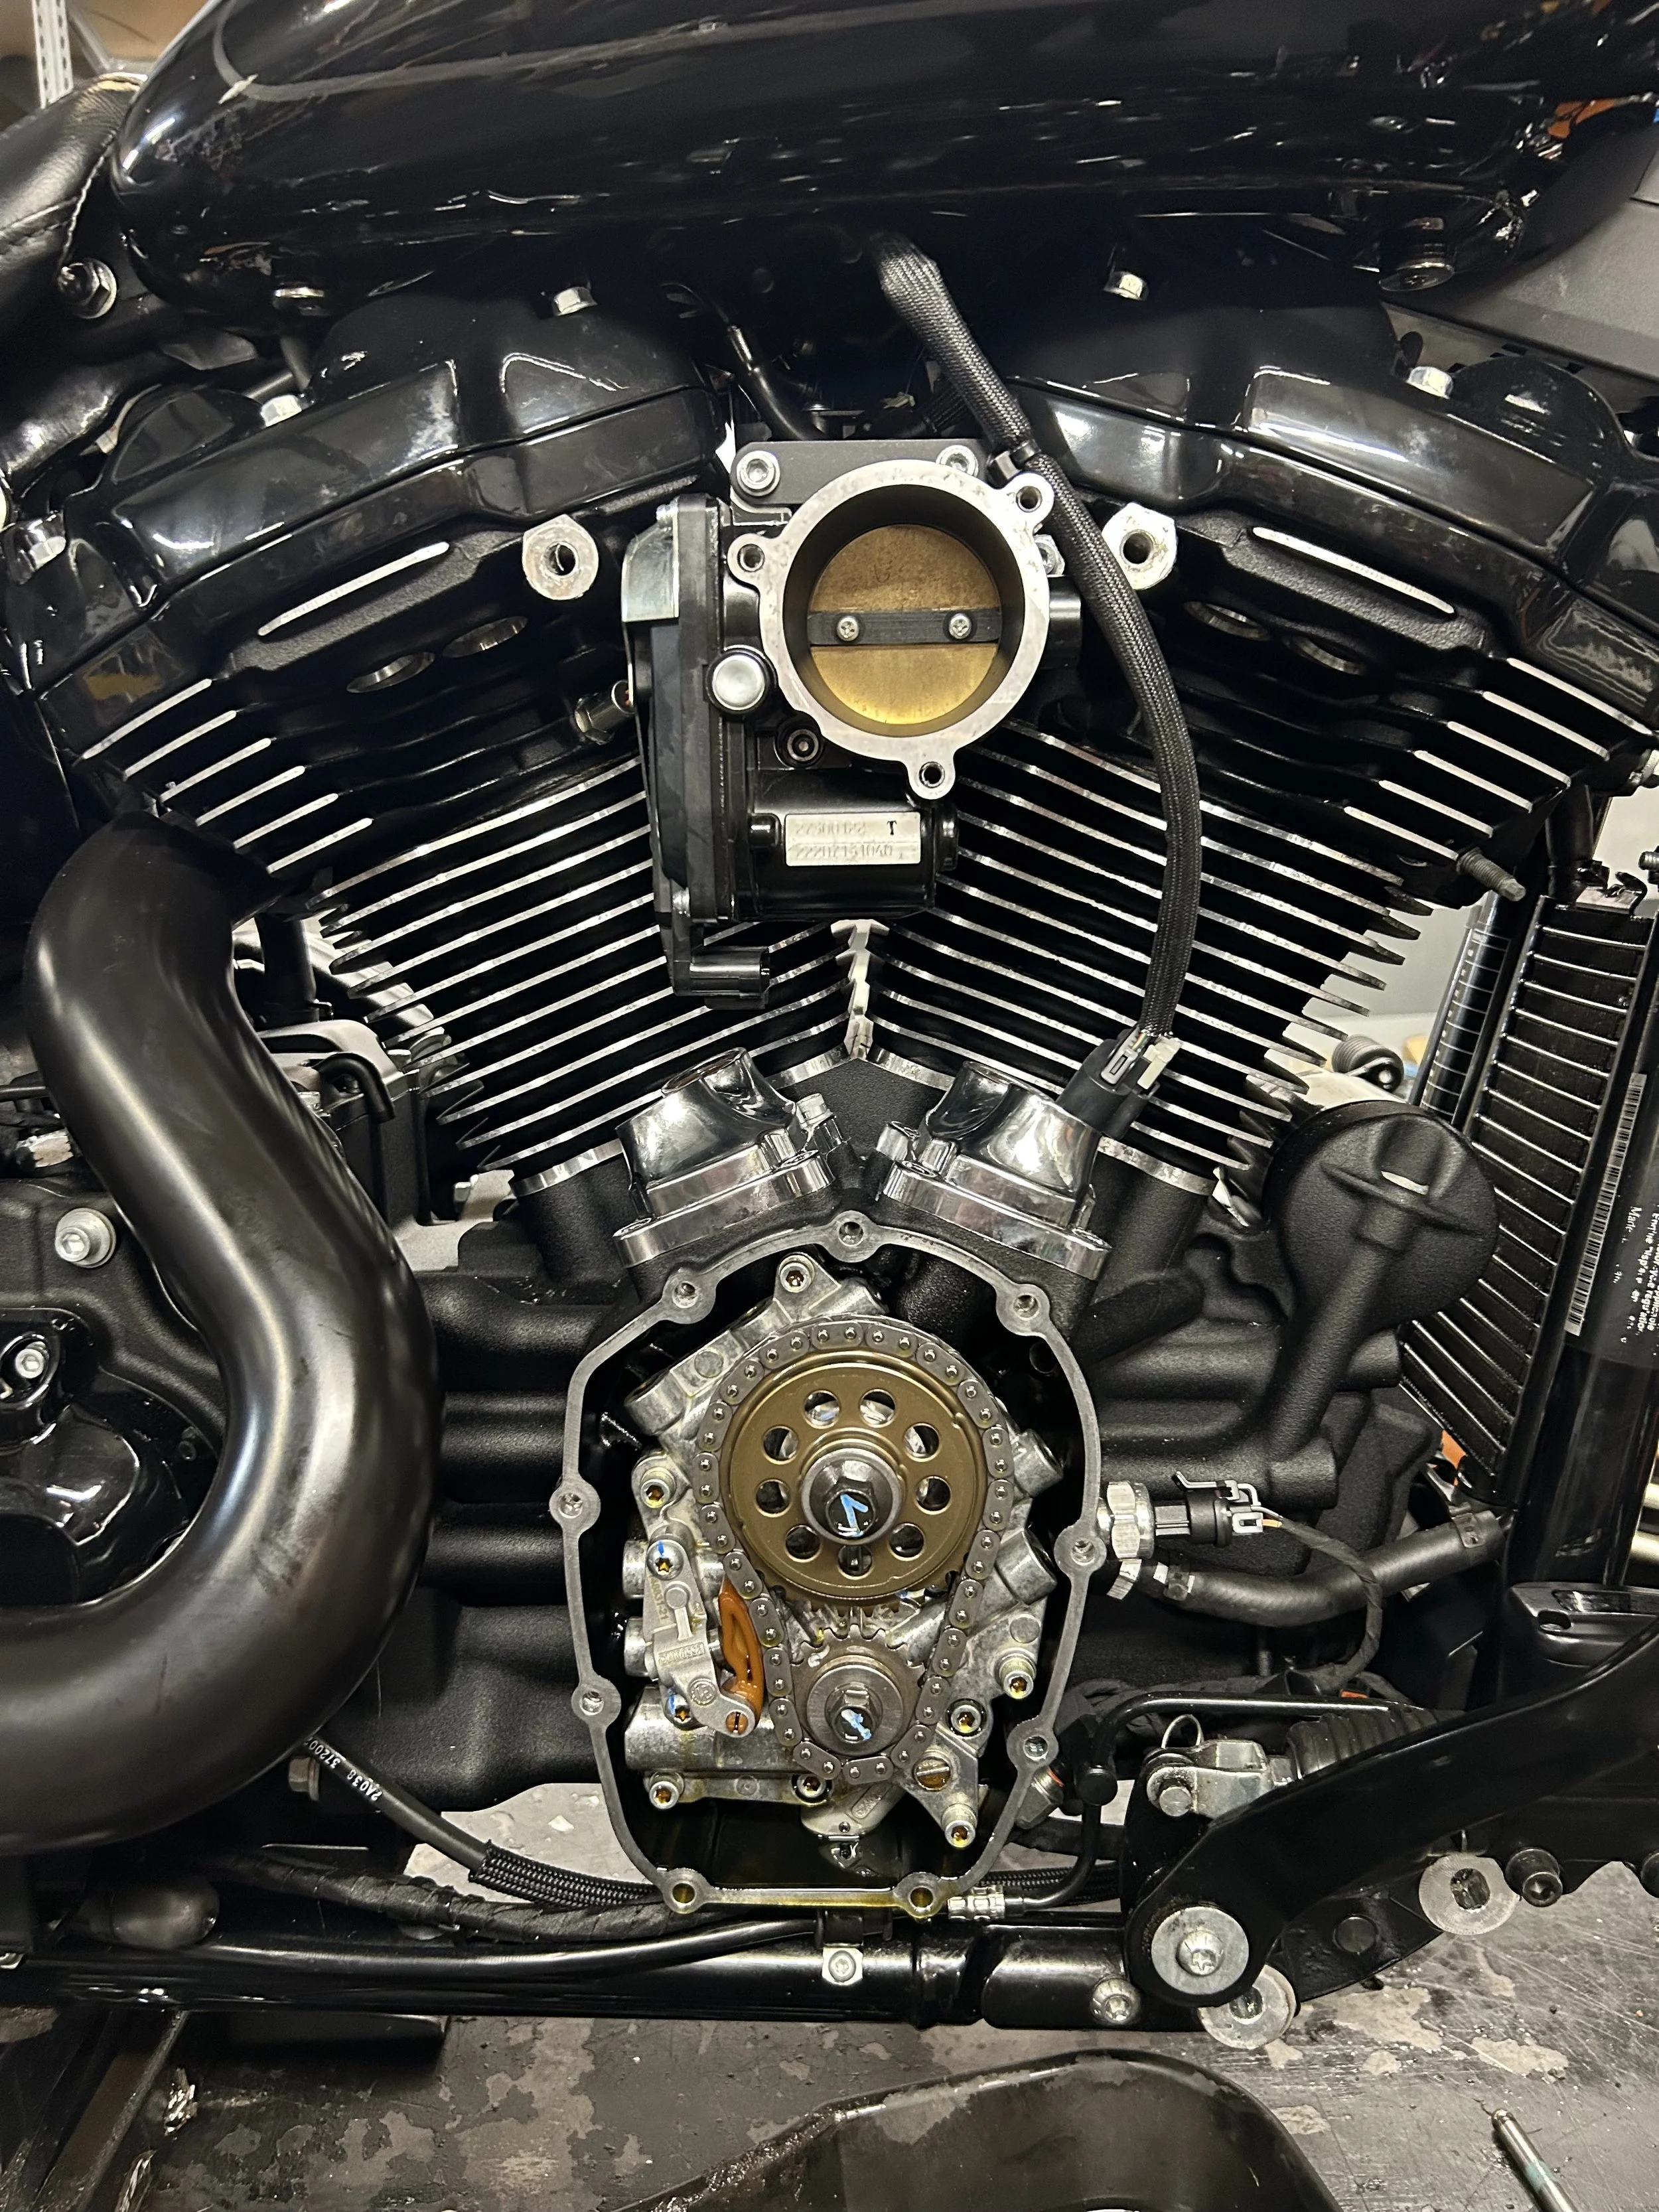
Ivan removed the exhaust from the front cylinder to gain access to the cam cover. He then moved onto removing the push rods. There are a couple ways in which this can be done.
The first method uses the stock push rods. This method is cheaper on parts costs but is more labour intensive, due to the tank, rocker covers and rocker arms all needing to be removed in order to remove the stock pushrods.
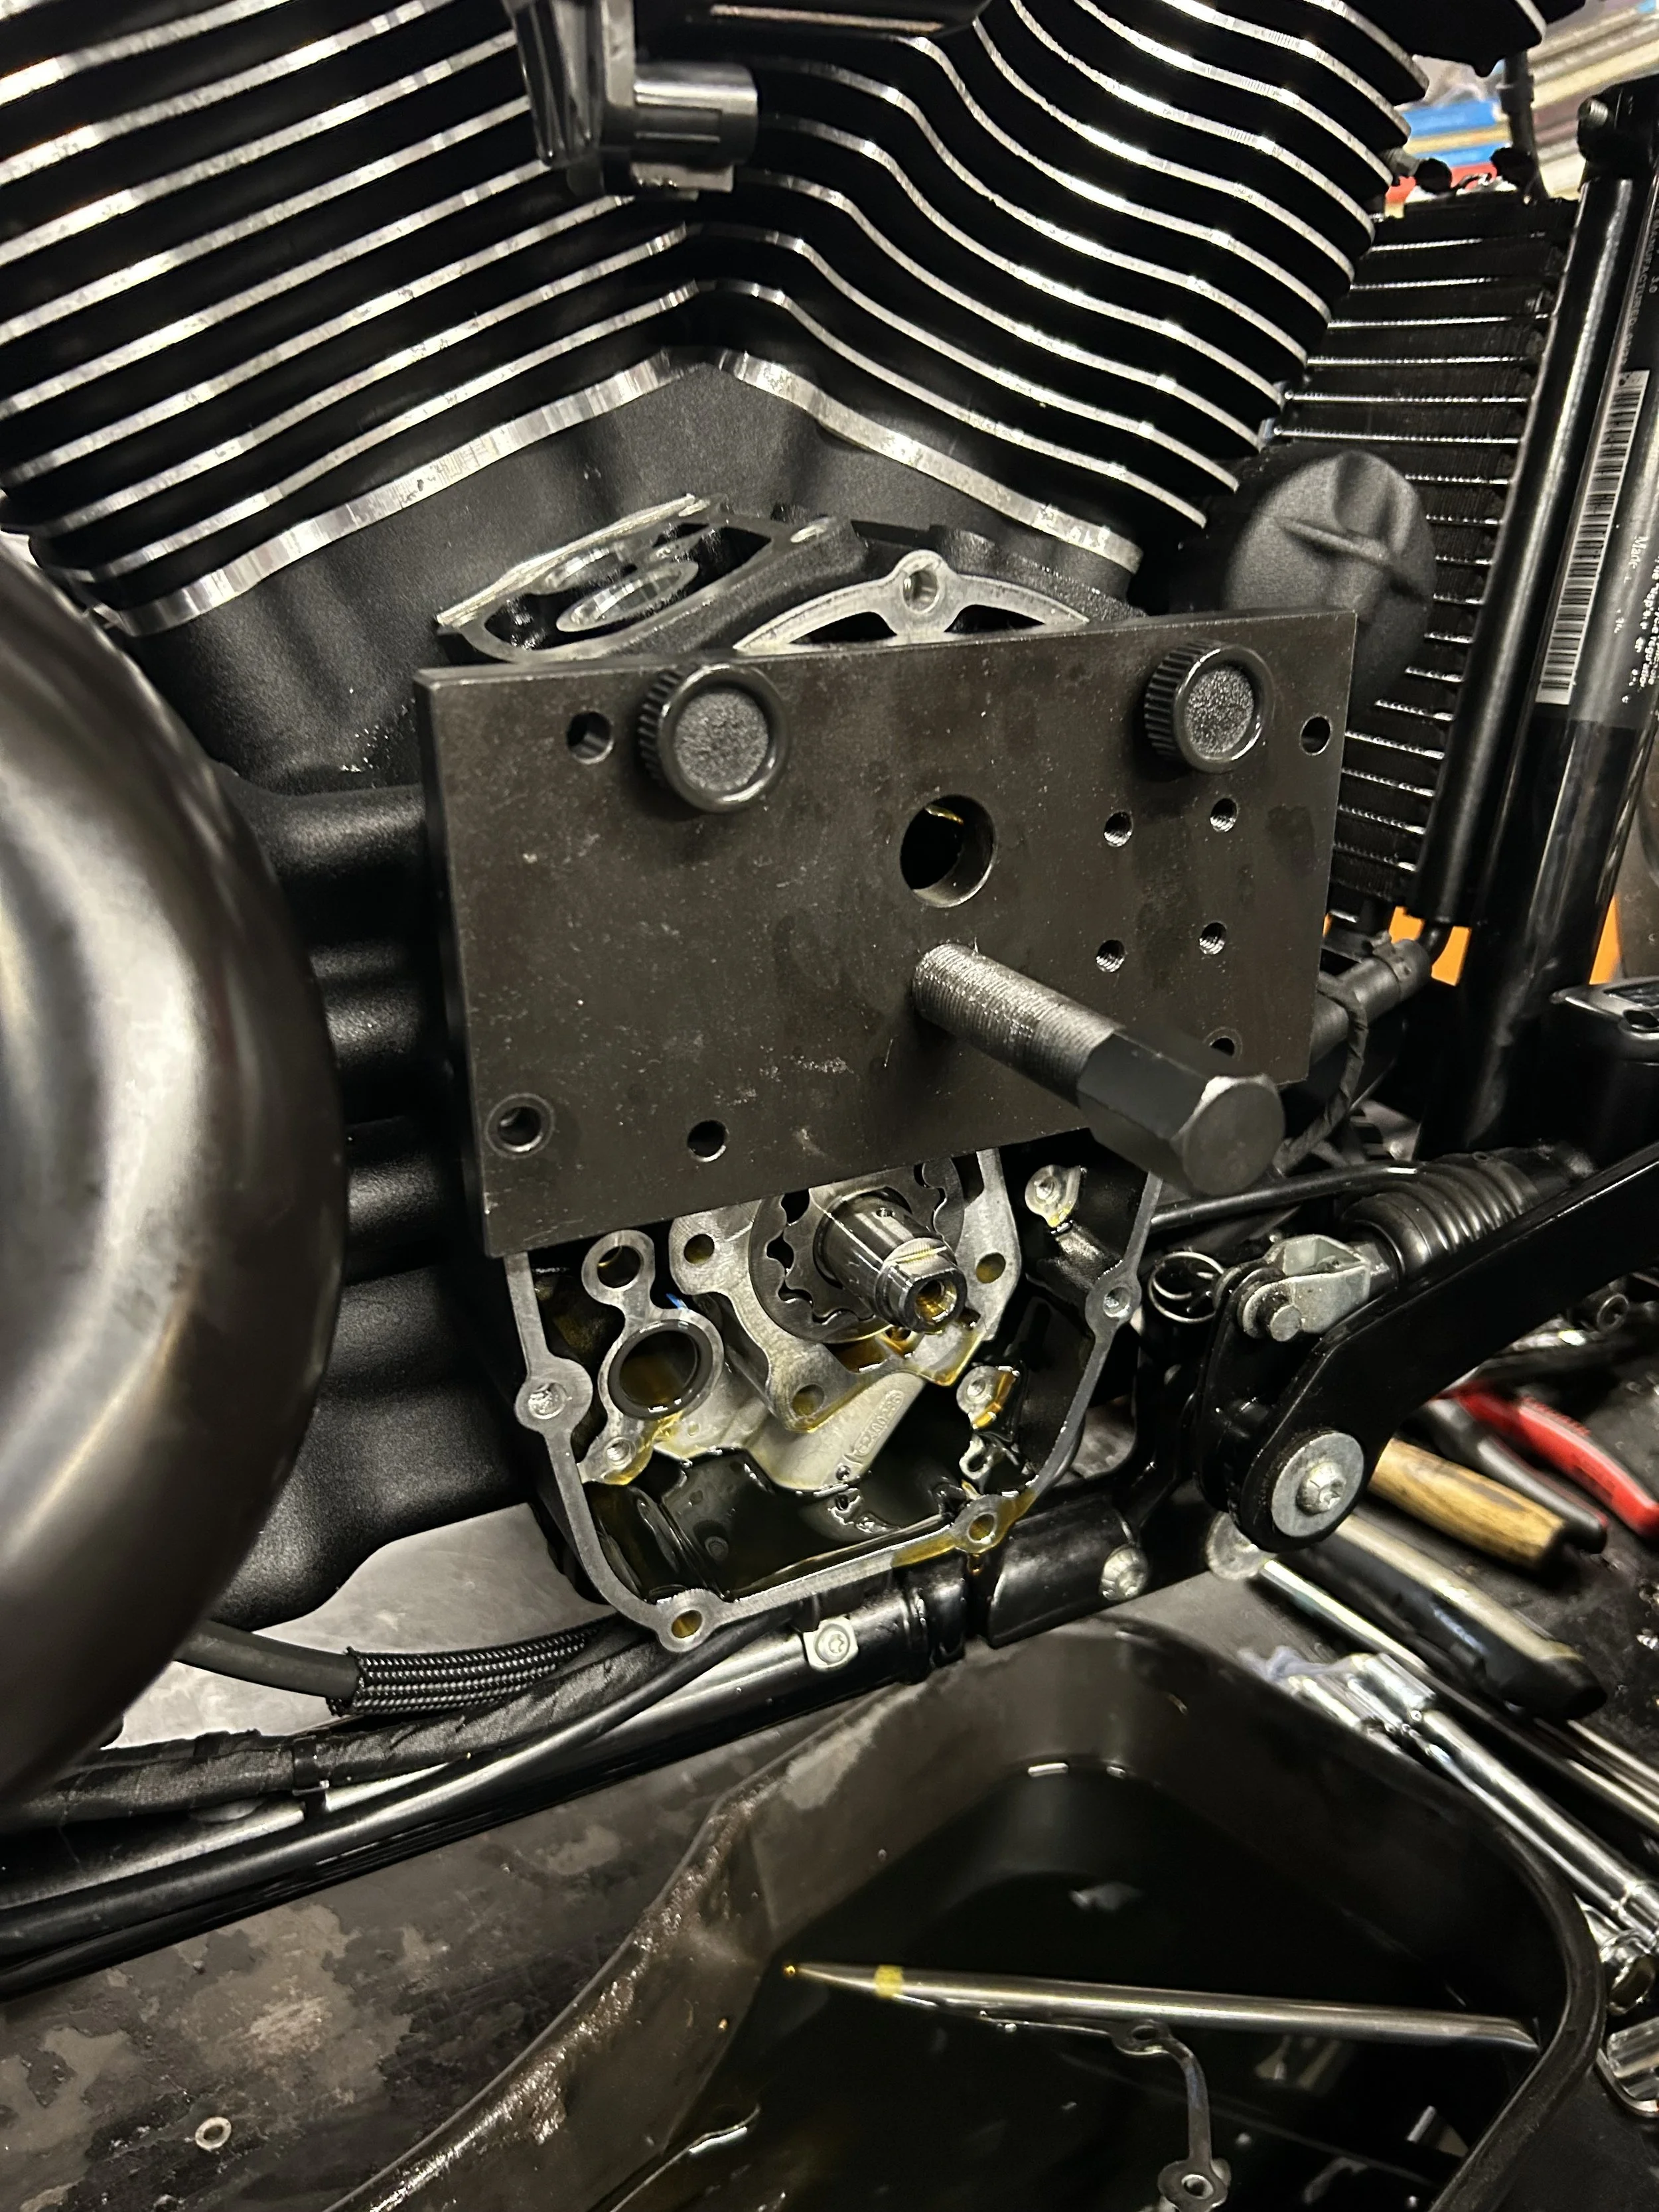
The second method is to use the S&S Quickie Push Rod Kit. This method is More expensive on parts cost but cheaper in labour. The stock push rods can be cut in place without removing the tank or rockers. The S&S Quickie Push Rod Kit is a large expense when doing a cam and costs around £400.
The client decided go for the S&S quickie pushrod kit, so the stock ones were cut.


Parts Used
Thunder Bike Hollywood Light Handlebars:
Thunder Bike 2” Straight Risers:
Heinz Bikes Nano 3 in 1 Rear Indicators
Motorcycle Storehouse Fastline Front Indicators
https://www.motorcyclestorehouse.com/product/577086
S&S M8 Quickie Push Rod & Cover Kit
Painting & Powder Coating
Wheelworkz
https://www.wheelworkzalloywheelrefurb.co.uk/
Crowden Coach Works
https://www.crowdencoachworks.co.uk/
Microblast Services